When anyone says something is “as easy as the click of a button,” they’re often met with a bit of skepticism. Things are rarely ever that easy, especially when it comes to an organization’s financial close and consolidation processes. But creating an application and enabling features to meet your organization’s needs in Oracle’s Financial Consolidation and Close Cloud Service (FCCS) might just be that easy.
After clicking through a few “Create Application” screens where you select the desired settings and features to be enabled, the foundation of your new FCCS application is built! Within a matter of minutes, a new FCCS application is generated with out-of-the-box functionality that can be customized to your business’ requirements. So you could probably say it’s “as easy as a few clicks of a button.”
Getting Started
While creating a new FCCS application is overall a very straightforward process, the most difficult part is choosing which features your organization should enable and understanding the implications that the selections you make will have on your new application.
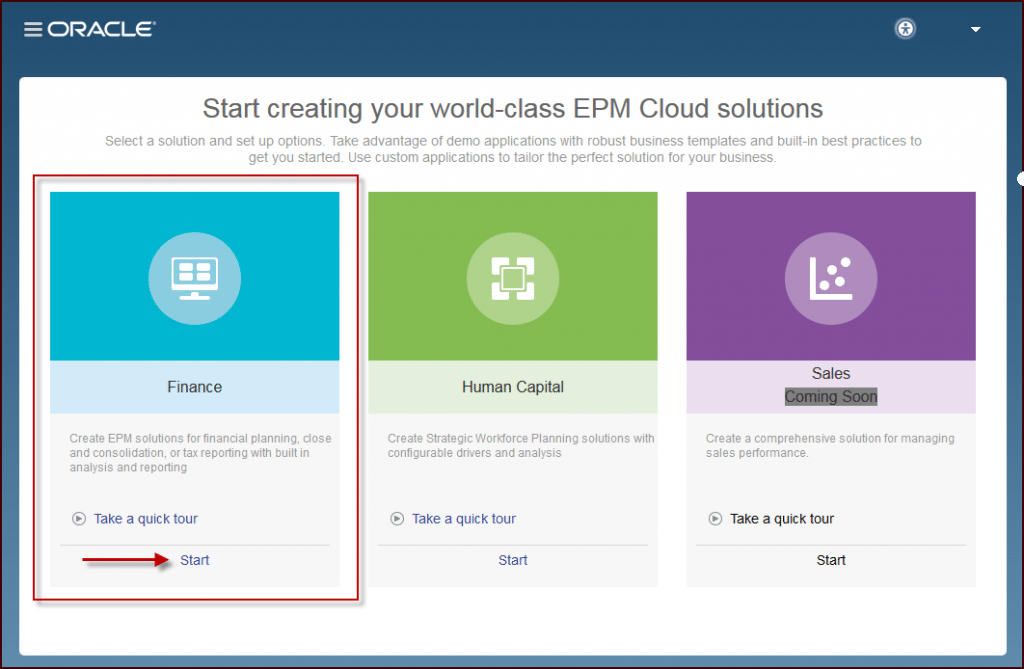
When you log into your brand new Oracle Cloud instance for the first time, the first screen you see is where you will choose the type of application you want to create. To create an FCCS application, choose to create a Finance application that is a Financial Close application type.
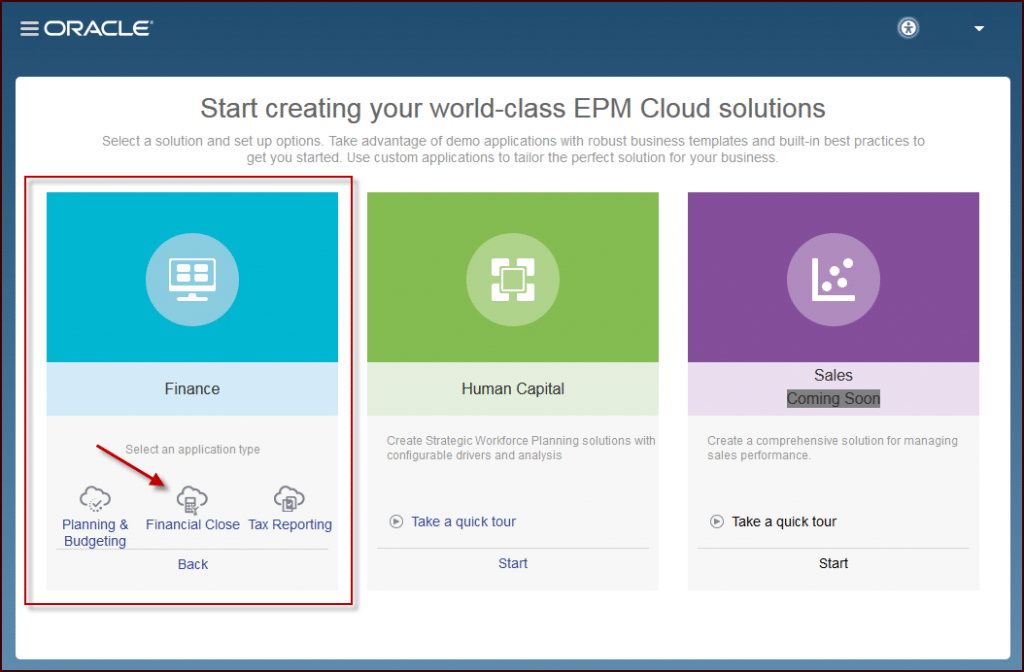
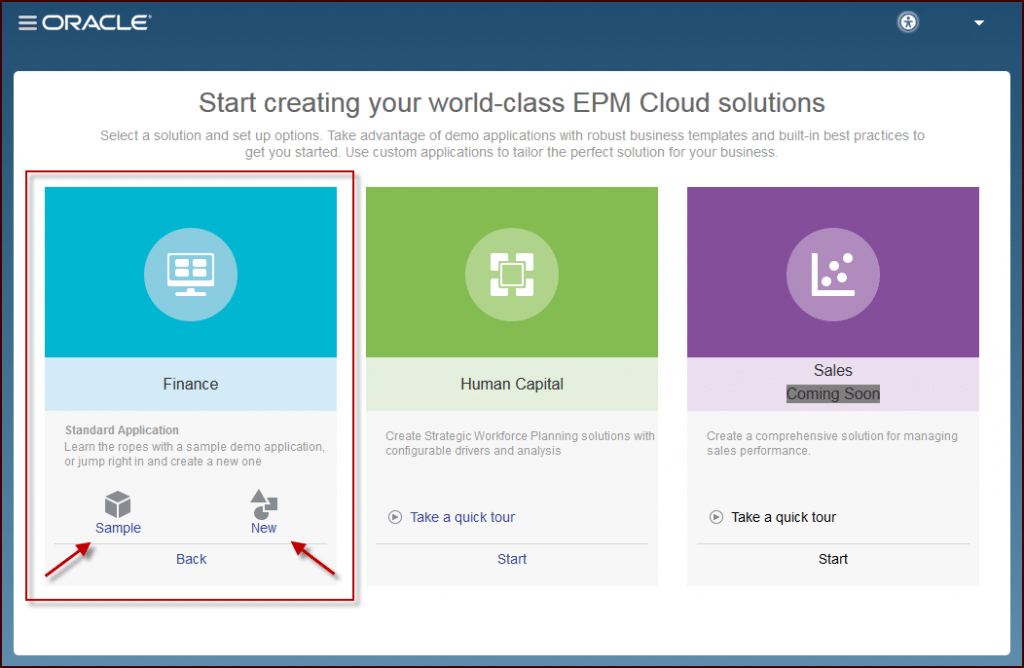
Once you’ve selected to create a Financial Close application, you can choose to create either a Sample or New application. The Sample application is an FCCS demo application provided by Oracle that is meant to help you learn more about the features in FCCS. However, to create an FCCS application customized to meet your organization’s needs, select to create a New application.
Application Settings & Features
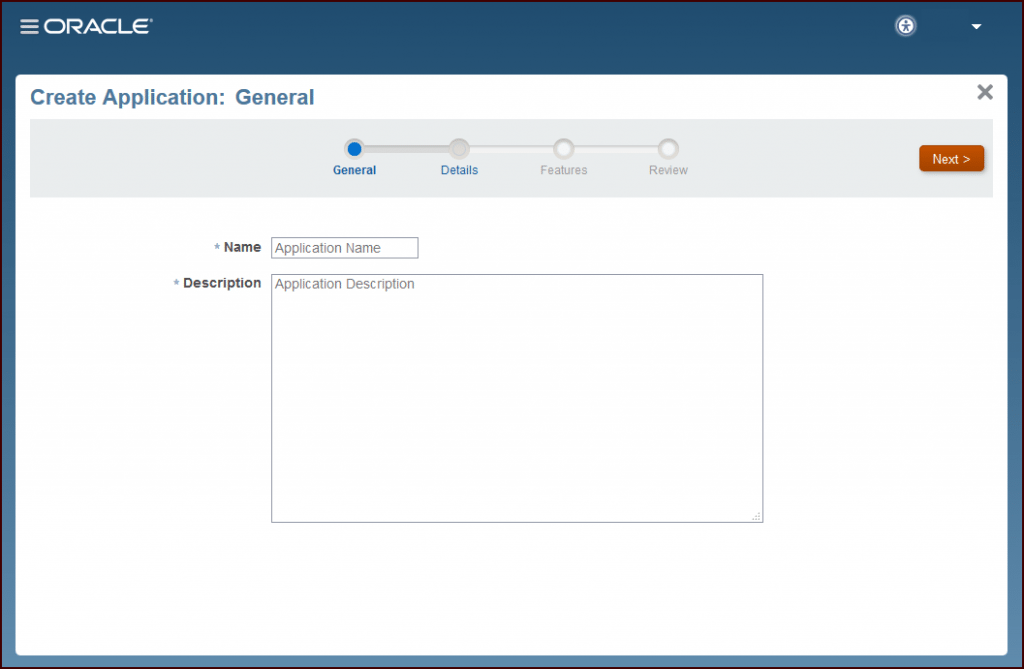
There are four main sections in the Create Application screens when creating a New FCCS application. Each section allows you select and review the settings and features you want to enable in FCCS, but how do you know what to select? What impact does each choice you make have on your new FCCS application? Let’s find out.
General
The first decision you make for your FCCS application is probably the most important – the application name. The application name and description are required fields to be filled out during the application creation process and cannot be changed once the application is created.
Details
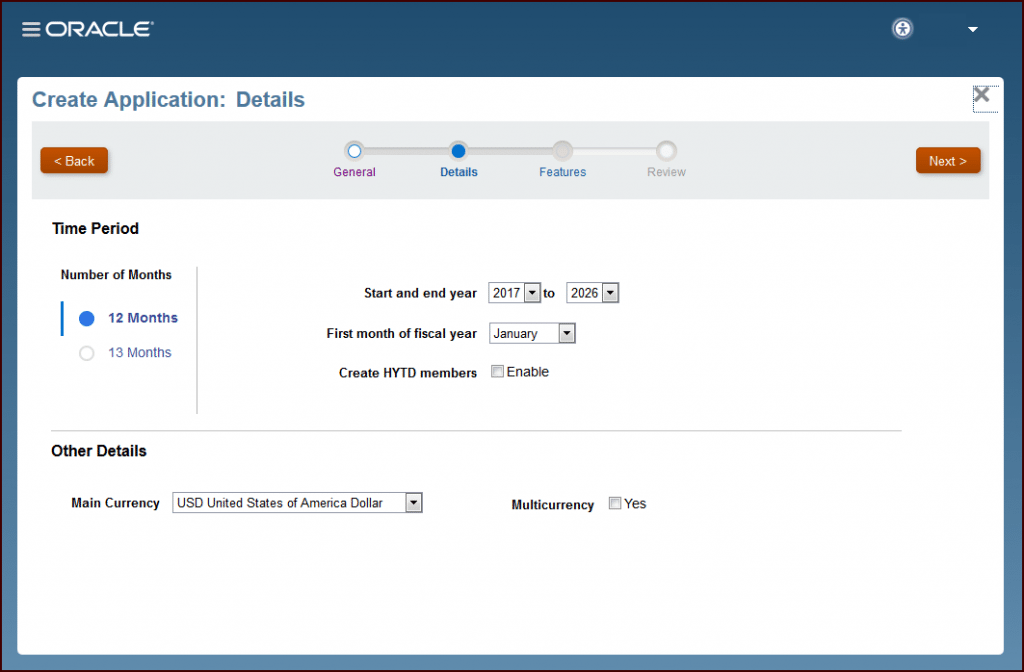
This is where you make selections related to the time periods and currency settings for the application. Generally, the settings selected on this screen cannot be changed once the application is created, but any exceptions to this are noted below.
Time period selections include the number of months, start and end years (if needed, additional years can be added beyond the end year specified here after the application is created), first month of the fiscal year, and whether you want to create HYTD members. If the create HYTD members setting is enabled, the system will create half-year members in the Period dimension and a HYTD View dimension member.
Currency selections include the main currency of the application and whether the application will support multiple currencies. The decision to enable multiple currencies will impact whether some features can be enabled on the next screen.
Features
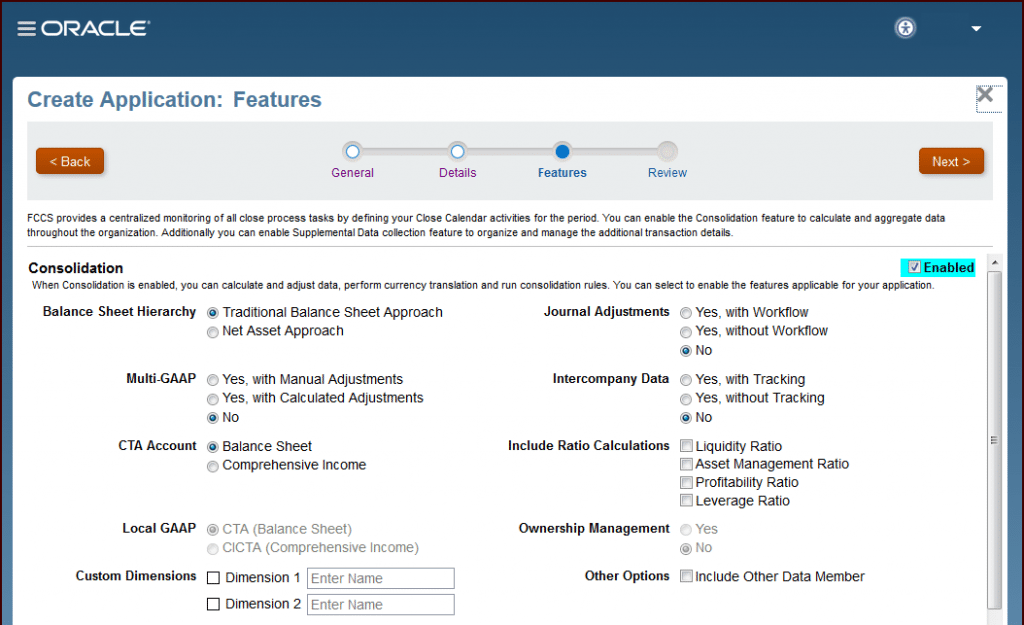
The Features screen is where you choose to enable a variety of consolidation and supplemental data features for the FCCS application.
The Consolidation section is enabled by default and encompasses several additional features to meet a business’s close and consolidation needs. If this feature is not enabled, many key FCCS features will not be available.
The Supplemental Data Collection feature, if enabled, allows an organization to collect additional data outside of the Balance Sheet, Income Statement, and Cash Flow data that is used for reporting and analysis. This supplemental data is useful for reporting and disclosures required for financial statements.
Keep in mind that all FCCS application features enabled cannot be disabled after the application is created. Let’s take a closer look at the various selections to be made when Consolidation is enabled.

Balance Sheet Hierarchy & Ratio Calculations
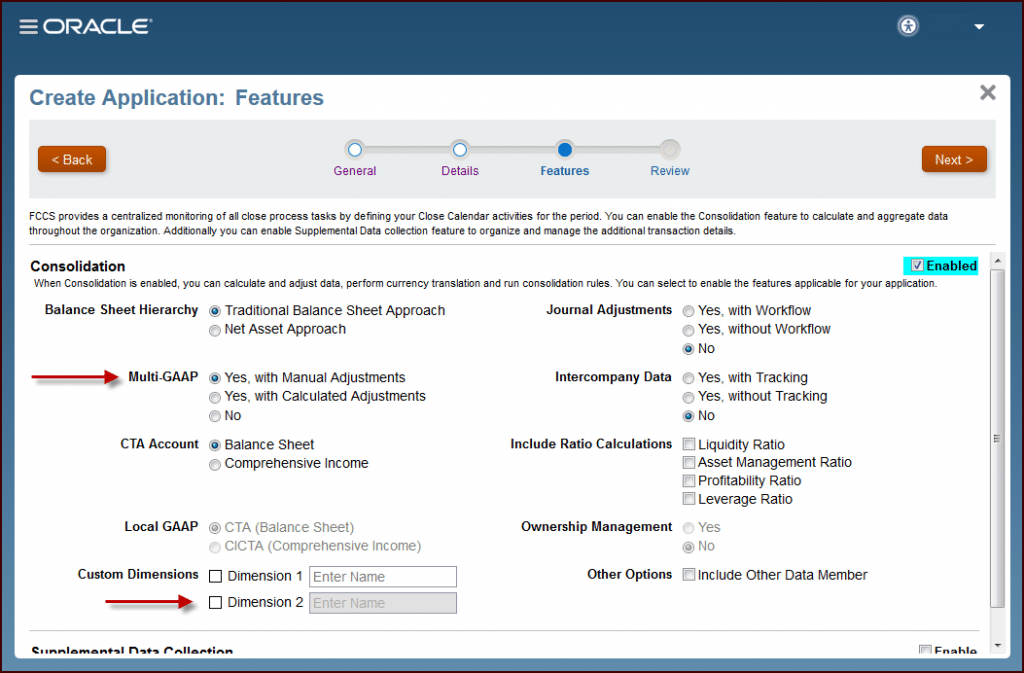
Select the appropriate Balance Sheet approach required for your reporting needs – Traditional Balance Sheet or Net Asset. The method selected here will determine some of the out-of-the-box hierarchies built in the Account dimension when the application is created.
Another selection that determines the Account dimension structure is choosing to include ratio calculations. If any ratio calculations are selected, out-of-the-box accounts and calculations will be created to calculate the ratios selected here.
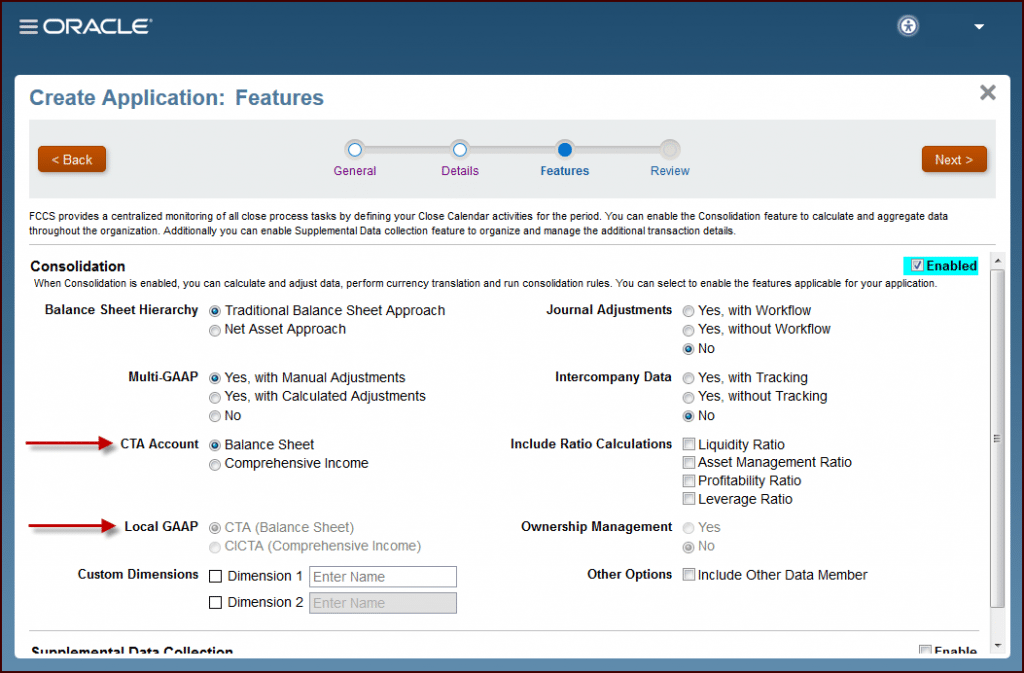
CTA Account & Local GAAP
If your application will support multiple currencies, a selection you made on the previous screen, you must also decide where the CTA (Currency Translation Adjustment) Account will be placed in the Account dimension. The CTA Account can be included on the Balance Sheet (as CTA) or within Comprehensive Income (as CICTA). The option chosen here will drive the Local GAAP setting which changes automatically based on the CTA Account selection.
Multi-GAAP & Custom Dimensions
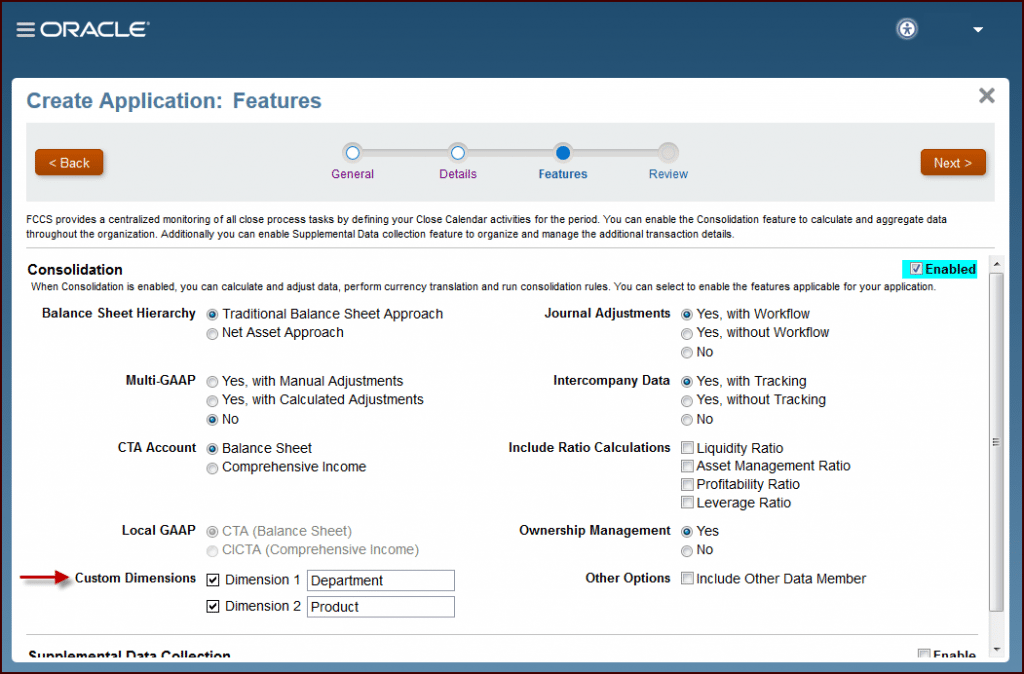
At this time, FCCS applications only support two (2) custom dimensions. You can select to add one or both custom dimensions by checking the box next to each dimension and giving it a name. However, if your organization requires multi-GAAP reporting (e.g., IFRS and US GAAP) and you choose to enable Multi-GAAP, a dimension for this purpose will be created and will take the place of one custom dimension.
Once the application is created, the custom dimensions defined here cannot be changed.
Journal Adjustments
To create and submit adjusting journal entries to FCCS, choose to enable Journal Adjustments. This functionality can be enabled with or without workflow which is additional functionality for approvals when journal entries are created and submitted to the system. All journal adjustment data is stored in a separate member of the Data Source dimension specifically created when this setting is enabled.
Intercompany Data & Ownership Management
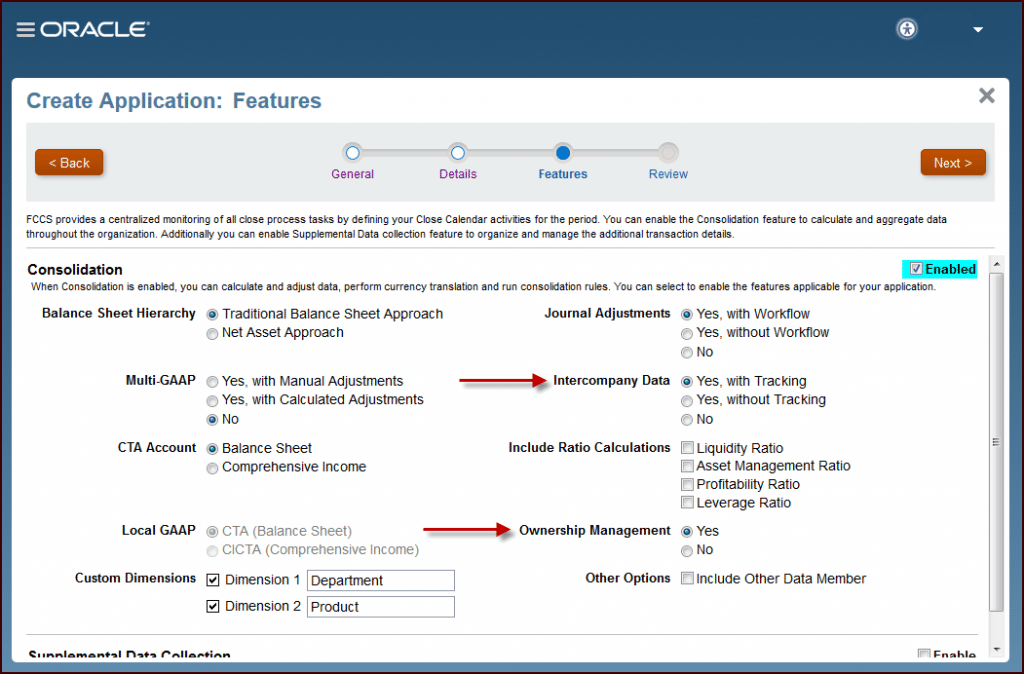
If your organization will record intercompany transactions in FCCS, choose to enable Intercompany Data. This functionality can be enabled with or without tracking which is additional functionality to gain visibility into the intercompany data across multiple data sources.
The selection made for Intercompany Data drives whether the Ownership Management section is selectable. If Intercompany Data is not enabled or is enabled without Tracking, Ownership Management cannot be enabled. However, if Intercompany Data is enabled with Tracking, the Ownership Management functionality can be enabled for the application. Enabling this functionality creates several out-of-the-box accounts within the Balance Sheet and Income hierarchies.
Review
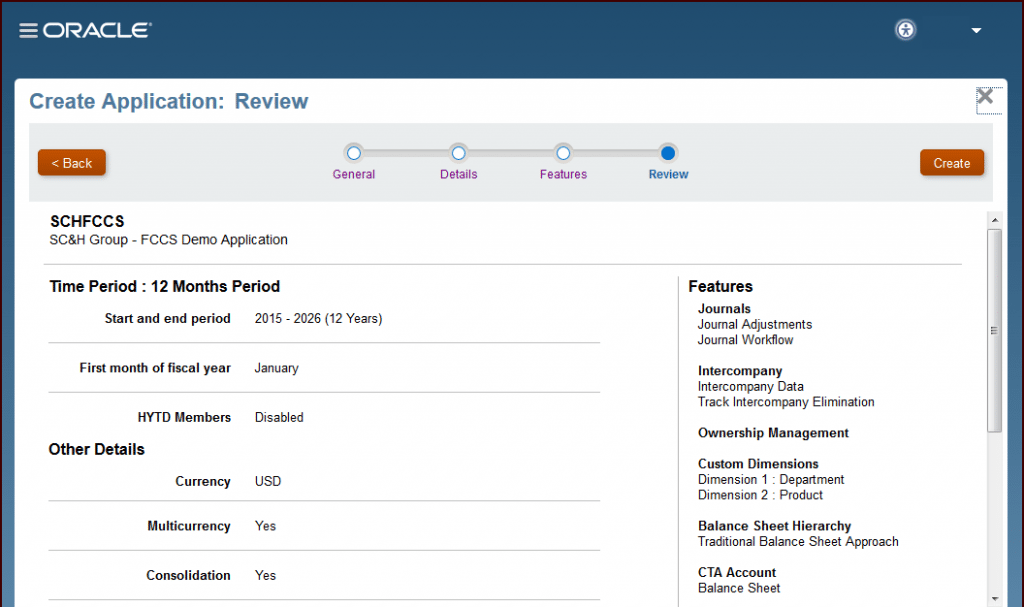
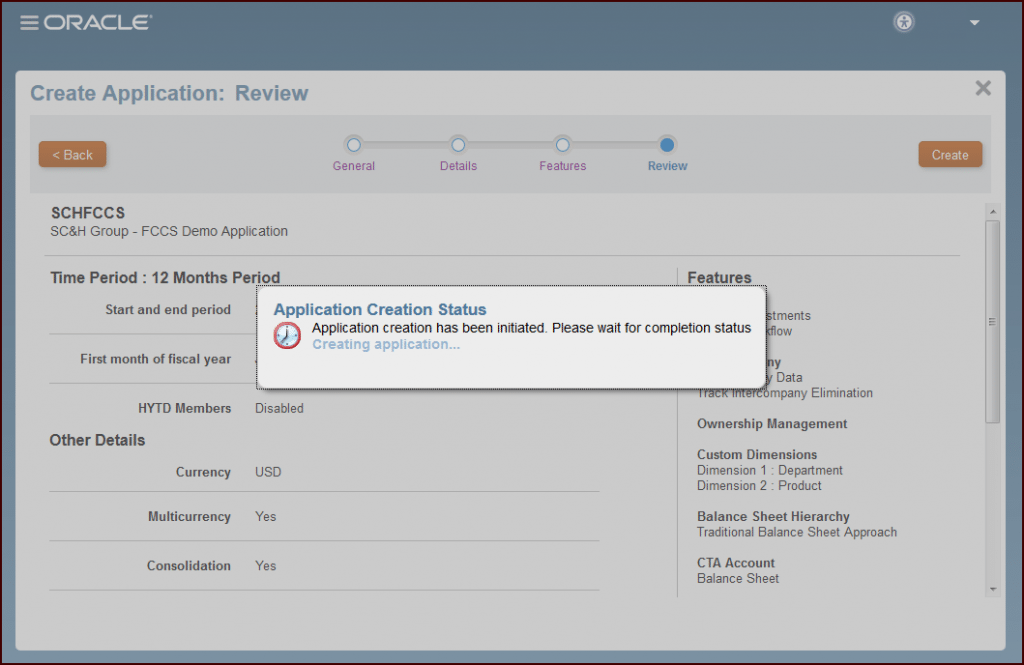
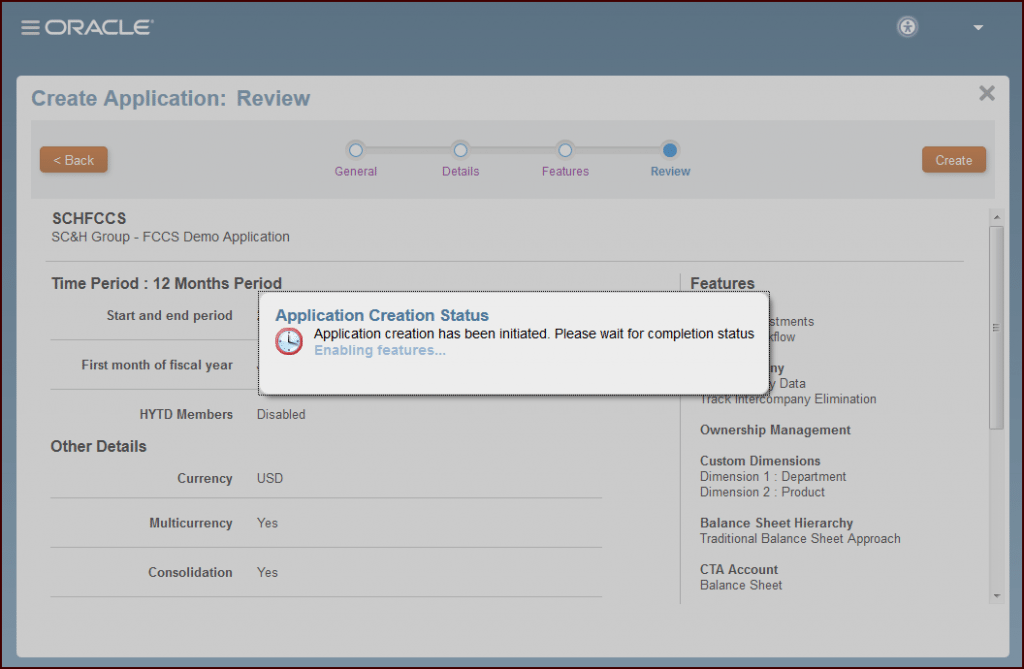
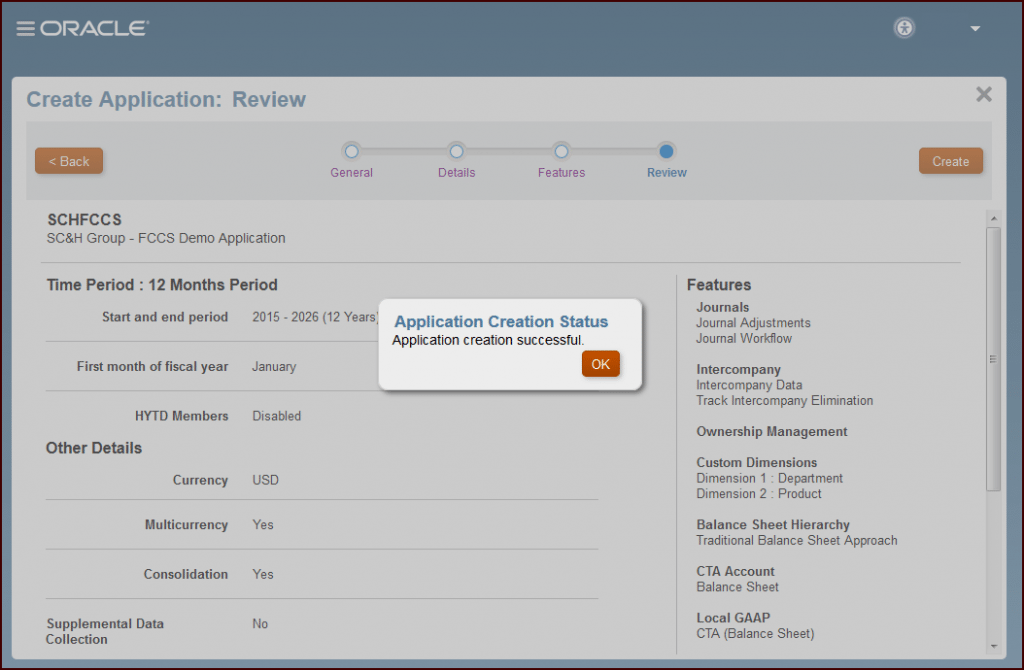
Once all application settings have been selected and features enabled, the Review screen is where you can review all details of your new application in one place. Once you are satisfied with the selections, all that’s left to do is to click the Create button and wait patiently because within minutes your brand new FCCS application will be created!
What’s Next?
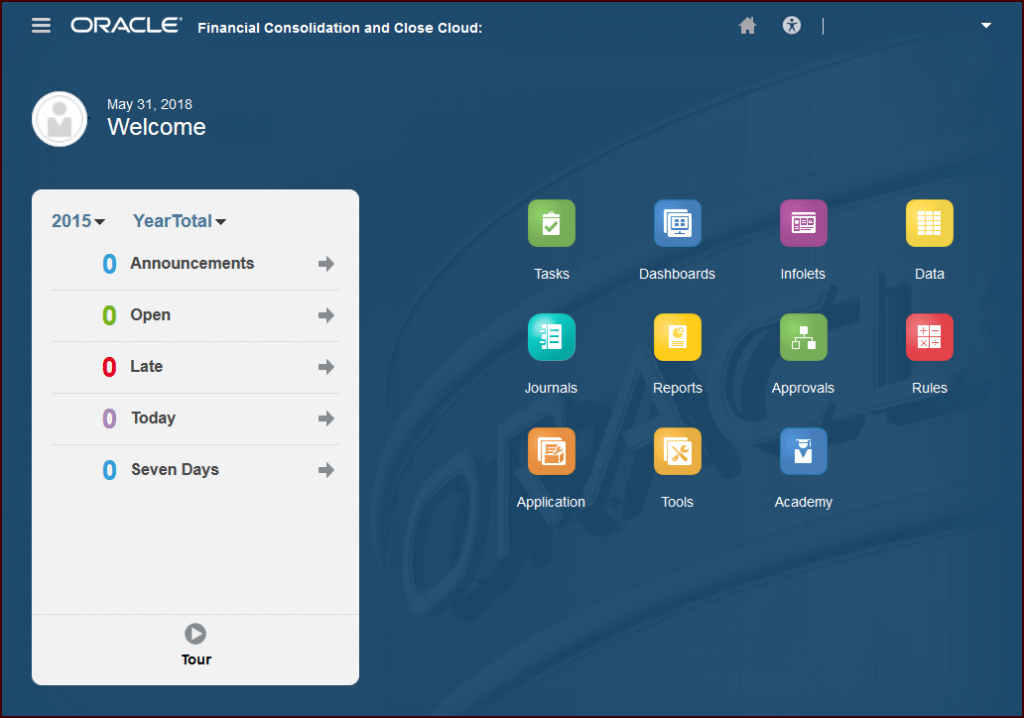
Now that a new FCCS application has been created, it has been populated with out-of-the-box metadata, web forms, calculations, and reports which can be customized to meet the needs of your organization.
Stay tuned for more blog posts on FCCS dimensionality, ways to customize the out-of-the-box calculations, and more – coming soon!
Learn more about SC&H’s experience with Oracle FCCS and how we can help your organization close quicker and with more confidence.


